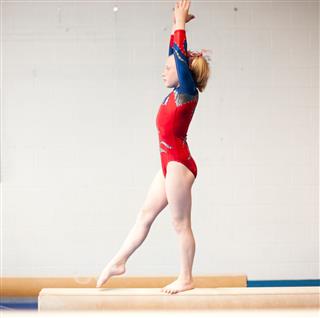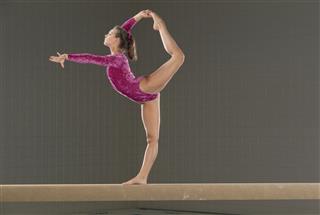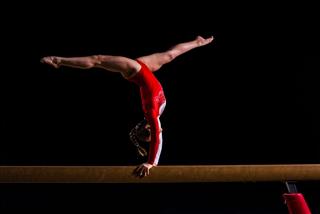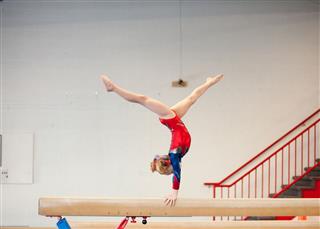
If you are thinking about a suitable gift for your daughter’s birthday, look no further. A homemade children’s balance beam can be a lovely gift for your young princess. Read on to discover the process of building one in your own backyard.
What is common between Nadia Comaneci, Cheng Fei and Shannon Miller? Yes, take your time and think about it.
Still can’t figure it out? All right, here’s the answer for you. All three ladies happen to be legendary gymnasts, and each one of them has won a bagful of medals at international sporting events. Nadia Comaneci, in particular, took the world by storm at the 1976 Montreal Olympics, when she won three golds and achieved a gymnast’s perfect score of 10.0 a whopping 7 times, all at the tender age of 14. Since then, she has been the perfect role model for young gymnasts all over the world. Some young girls who were inspired by her feats ditched their skipping ropes for the double bars, while others opted for the balance beam over their seesaws.
Speaking of which, how many of you are aware that you could build one with your own hands in a very short span of time? Yes, now that I have your attention, let me demonstrate this simple process in the following section.
Making a Balance Beam
Procedure
- Professional balance beams are manufactured using a variety of synthetic material in addition to wood. However, since we are building one for home use or, at best, for practice, we will concentrate on making a beam with a pure wooden base.
- Generally, a professional beam is approximately 16 feet long, 4 inches wide, and 5 inches thick. Since ours is mainly going to be for practice purposes, you can compromise with the length a bit, but do make sure that the width and thickness remain the same.
- In most cases, maple is the preferred choice of wood. You can opt for other wood types if you wish to, but make sure that the wood is sufficiently hard and sturdy.
- Some people believe that it is better to build a balance beam out of one single lumber, rather than gluing together multiple smaller pieces. Gluing together multiple pieces can weaken it considerably. Alternatively, you can make sure you use really strong adhesive and glue together strips of plywood to get the desired thickness. Whatever you do, make sure it is strong and sturdy enough. You wouldn’t want your little girl to fall down in case the glued pieces happen to come apart, would you?
- Run sandpaper over all the sides of the lumber to smoothen all the surfaces, while paying special attention to the intended top surface.
- Once you are done with the sandpapering, you need to cover the top surface of the beam. For this purpose, you can use specially designed suede fabric that has a layer of self-adhesive at the back. You can glue it to the wood surface and also staple it at the corners to ensure a tight fit.
- For the support posts, you can use some of the remaining pieces of lumber, or you can opt for a different type of wood. Once again, it is advisable that you do not compromise on the sturdiness of the wood.
- Support posts can be fixed upright, meaning in a vertical manner, or they can be inclined at an angle of 60º and be used in pairs.
- If you intend to place the balance beam indoors, you could consider applying a small patch of the suede fabric on the bottom surface of the support posts. This will help protect your flooring from scratches.
- Also, place a couple of exercise mats or yoga mats underneath to provide a bit of cushioning in case of a fall.
Using the above method, it shouldn’t take you more than a few hours to build a good homemade children’s balance beam. Start off right away and make it an unforgettable gift for your child. Don’t forget to test its strength!

